
Making a syllabus available to students is essential. Blackboard allows the instructor to:
- Upload an existing syllabus (word or PDF file), or
- Create a syllabus from scratch using a Blackboard template (aka a form)
Note, being that most professors have a syllabus in Word or PDF format, the recommendation is to upload it to a content area titled Syllabus. Also, the Syllabus content area already exists in Law School’s course template. Courses not following the Law School’s course template, require the instructor to establish it.
Uploading a Syllabus in Blackboard
- Click on the Syllabus Content Area within the course menu. Hover over the Build Content menu and select Syllabus.

- Provide a Syllabus Name and select the Use Existing File option.

- Choose the file you would like to upload from your computer by clicking on the Browse My Computer button. Once you have chosen your file, click on Submit.Clicking Submit will enable the instructor to edit the details and control the availability (see below):


Clicking Submit, allows the instructor to adjust the following:
- Name: title of the syllabus (i.e., Bankruptcy - Syllabus)
- Color of Name:
- Text: use this filed to add a description
- Attach Files: the instructor may add additional syllabus files
- Link Title: use this field to rename the syllabus file
- Standard Options: be sure to allow students to view the syllabus. To control the availability, set a data and time range
- Submit: click Submit when finished
A message will appear indicating a successful submission.
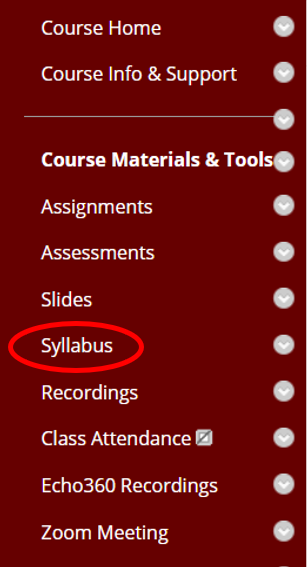
LawIT recommends adding the Syllabus to a Content Area titled Syllabus (see below.) Doing so makes it easy for students to locate it.
Follow these steps to establish the Syllabus Content Area if it does not exist in the course menu. If it exists, proceed to step 1:
To create the Syllabus Content area, hover over the Create icon ![]() located in the upper left corner of the screen Content Area panel and select Content Area. If you do not see the create icon, check to make sure Edit Mode is On.
located in the upper left corner of the screen Content Area panel and select Content Area. If you do not see the create icon, check to make sure Edit Mode is On.
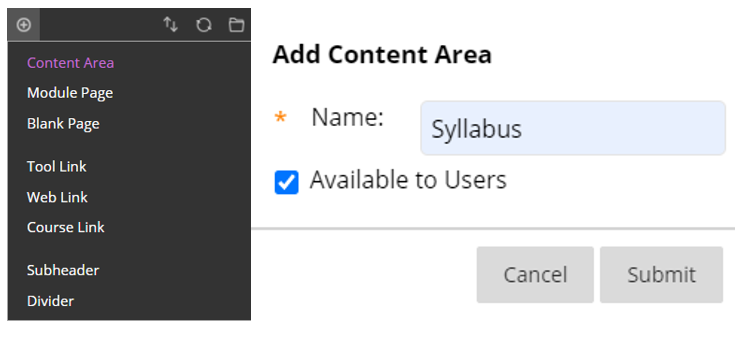
Name the content area “Syllabus” and check the box titled “Available to Users” to make it visible to students. Click Submit when finished.
The content area should now appear at the bottom of the course menu panel. To relocate it, click on the relocate icon at the top of the course menu panel (double arrows,) select the Syllabus content area, then click on the position arrows to reorder it.
![]()
Click Submit when finished. This completes the pre-requisite step of establishing a content area titled Syllabus.