
Important: as of December 17, 2021, professors need not manually download Zoom recordings and upload them to Echo360. Thanks to an integration between the two platforms, Zoom recordings are automatically imported for sharing with students. Instead of the manual steps outlined below, IT recommends following the instructions on linking Zoom recordings to an Echo360 course.
Note: if a course was not specified in the Publish To location during a capture, Echo will default it to the instructor’s Echo library.
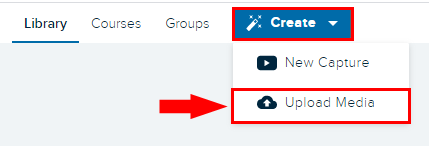
To upload an existing video/recording, potentially created with Zoom or with some other tool, log into LawNET and select Echo360 from within APPs to open the Echo portal:
-
- Select the Create button and choose Upload Media.
-
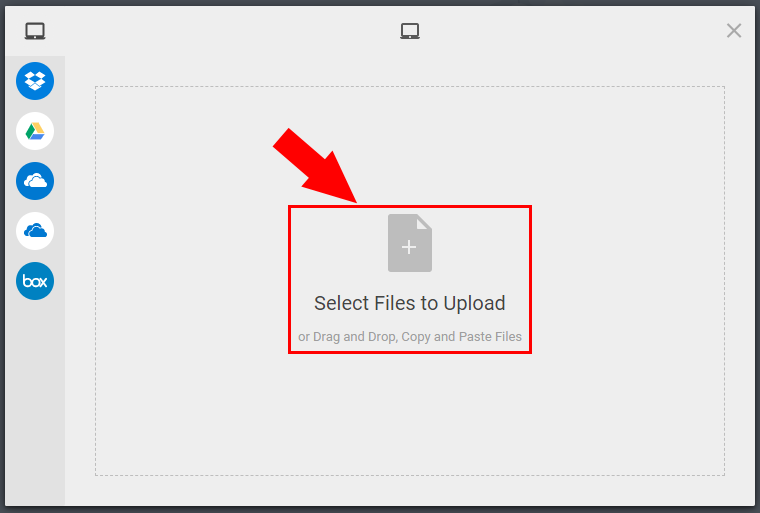
- At the following screen, select the recording file(s) or drag and drop the file(s) you wish to upload. Note, the file must conform to Echo360 supported formats. When finished, select Upload at the bottom right.
If you wish to share the uploaded video with students, see Sharing Content in Echo360.
Working with the Library
Echo360 stores all recordings, whether published to a course or not, in the instructor’s Library. By default, recordings are sorted by Date Created. However, users may sort by Course Name, Owner, Name, and Type.
Another easy way to locate recordings is to use the search feature. Supply a name, description, tag, or owner to begin the search. Click Filters to perform an advanced search.
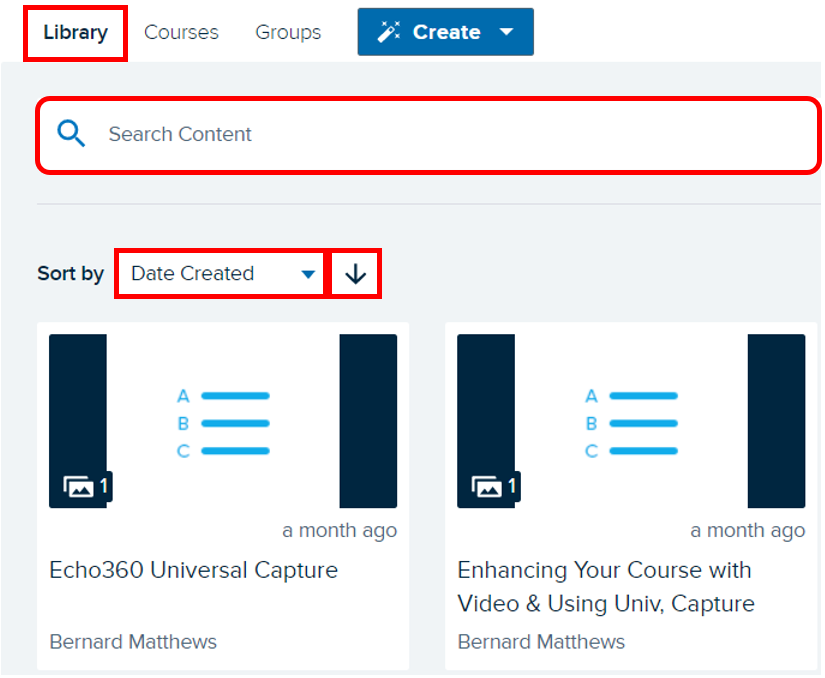
Each video tile displays the name of the video and the owner. Notice, it also shows the length of the video and when it was uploaded to the Library. If the video is a classroom lecture capture, its title will reflect the name of the course.
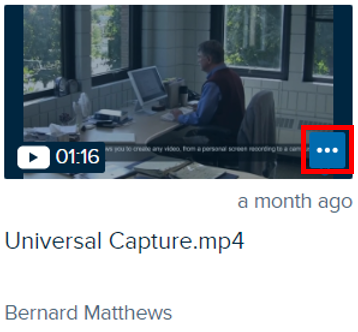
To view the video, click on the thumbnail. Hovering over the thumbnail will display the menu button. Use it to quickly View, Share, or Edit the video. See Editing and Sharing Content in Echo360.